Sharp bird photographs begin with a decision about what you want to show. A bird lifting from the water asks something different of your camera than a quiet portrait on a branch. Think about the subject's movement, your own stability and the light, then choose settings to suit that particular encounter.
Set shutter speed for the movement in the frame
Use a fast shutter when you want to freeze action, then check the result at a useful magnification. If the eye is sharp but the wings are blurred, decide whether that movement supports the photograph. If everything is soft, camera movement or missed focus may be involved as well.
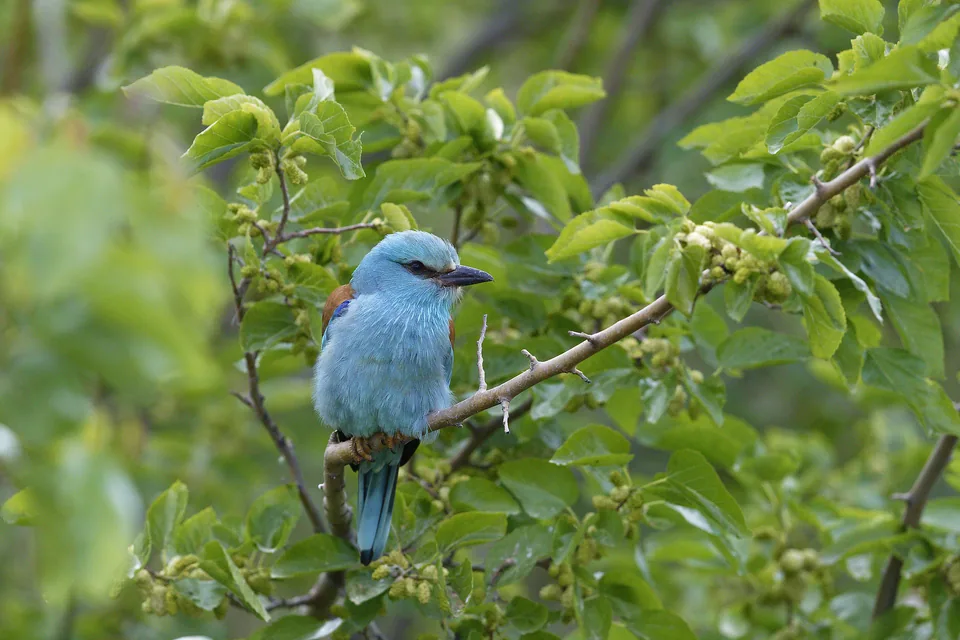
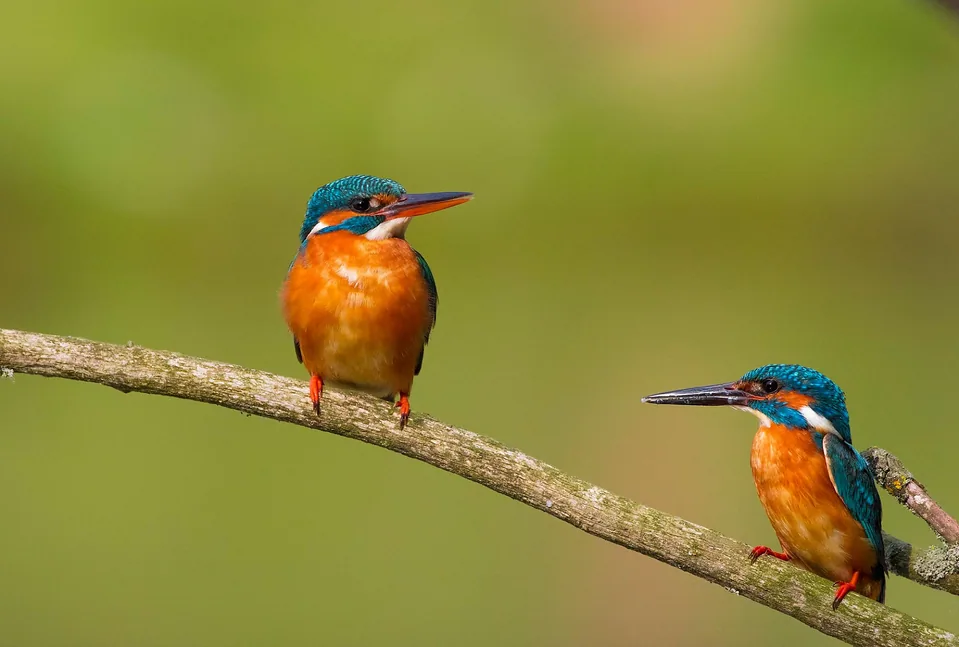
For a settled bird, experiment with a slower shutter only when your support and the subject allow it. From a boat, water movement adds another variable. Settings that worked on a tripod on land may need changing even when the bird appears still. There is no single shutter speed that guarantees a sharp photograph.
Practise finding the bird before using tracking
Learn how to switch your camera's focus area and continuous autofocus mode without taking your attention away from the scene. Bird or animal detection, where available, can help, but check that it has chosen the intended subject rather than a reed or another bird.
At long focal lengths, simply locating a moving bird can be difficult. Start with a wider view, acquire it, then tighten the framing if necessary. Practise following a common bird smoothly and leave space in the direction it is moving.
Protect important detail in changing light
A white bird against dark water can challenge automatic exposure. Inspect the histogram and highlight warning, especially after changing direction or background. Adjust exposure compensation or manual exposure to retain the feather detail that matters to the image.
A wider aperture can separate a subject from its surroundings, but focus becomes less forgiving. Let ISO rise when that is the sensible way to keep the shutter speed you need. Compare an image with modest noise to one blurred by movement before deciding that the lowest ISO is always best.
Make a photograph with a setting, not only a subject
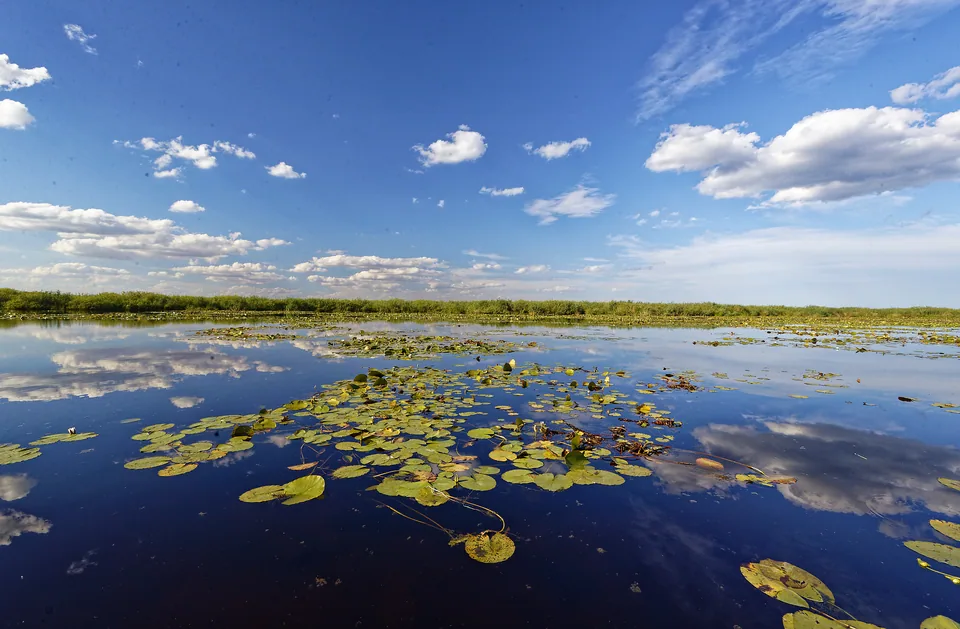
Look for reflections, a clean background, a reed pattern or a small gesture that explains the bird's behaviour. Leave room around the subject when the habitat tells part of the story. A frame showing the bird in its environment can be more satisfying than an extreme crop.
Ask your guide about the light and boat position, then work within a respectful viewing distance. Do not ask anyone to make a bird fly for a photograph. Learn the equipment controls before your tour so that field time can be spent observing rather than searching through menus.
Before you go
- Choose settings for the subject and your support, then check the result.
- Practise focus-area changes before travelling.
- Leave wildlife space and let behaviour happen naturally.
Turn your reading into time in the wild
Explore the relevant tours, then check each departure's itinerary, meeting point and equipment advice. Ask us if you would like help choosing.
Ask your local guide