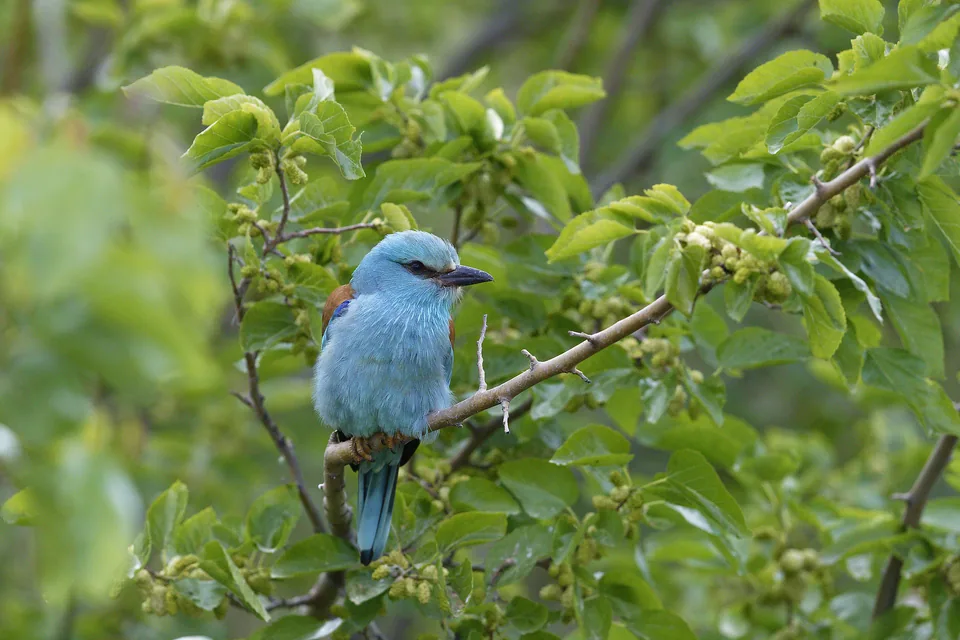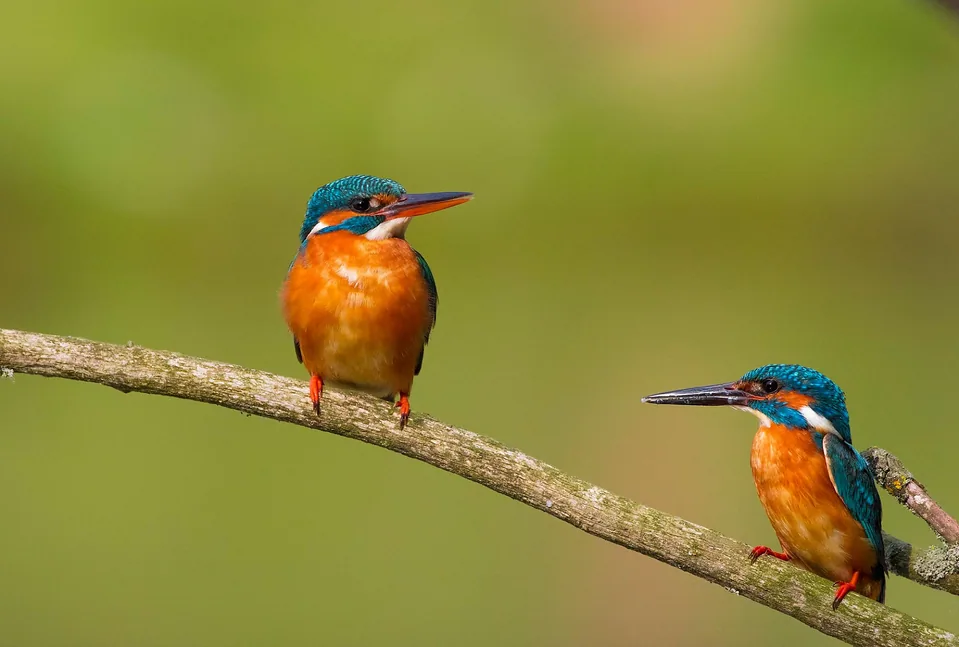
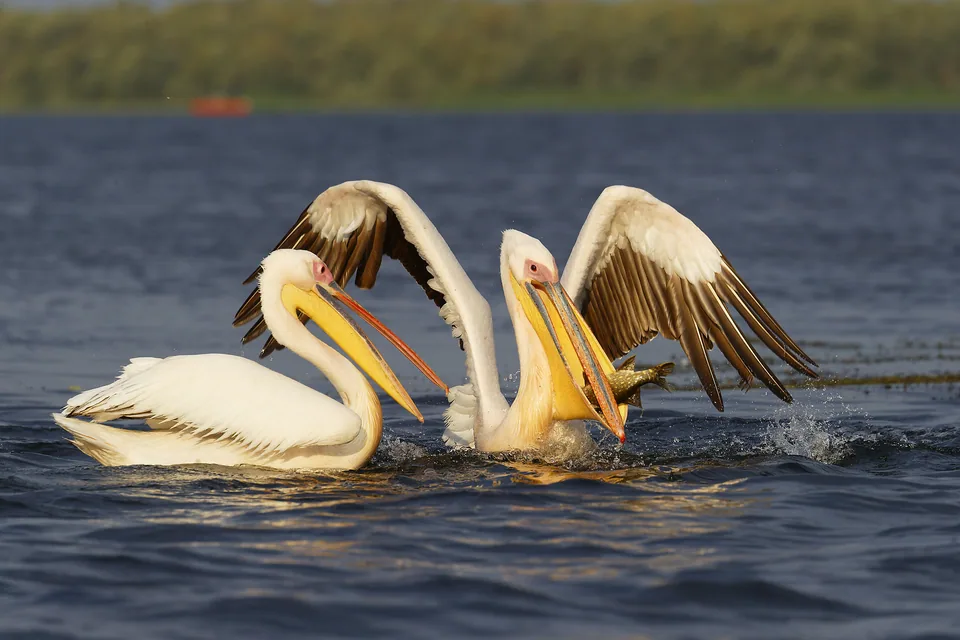
The field encounter ends before the photograph's public life begins. Back at your desk, you choose a crop, a caption and a location tag that shape what somebody else believes happened. Treat this as a second creative task: make an engaging image and an equally clear account of what it represents.
Keep a small record alongside the original file
Before editing, save the original photograph and a short note about the encounter. Record the region, approximate date and circumstances you can confidently remember. If you photographed from a boat, note that; if the species identification is uncertain, keep that uncertainty in the record rather than turning a guess into a confident label.
A simple three-column notebook works well: observation, photographic choice and question to check. For example, you might record a pelican feeding, a tight crop chosen later and an identification detail to confirm. The notebook gives you useful material for a story without inventing drama around the image.
Decide what kind of image you are presenting
Documentary photographs and creative artwork can both be worthwhile, but viewers should understand which they are seeing. Substantial additions, removals or combined scenes need clear disclosure. NANPA's captioning guidance offers a useful vocabulary; a competition or publisher may apply its own requirements, which you should check separately.
Use a practical export habit: keep a documentary version separate from an experimental version. If you replace a background or create an imagined scene, label the creative export clearly in your own files before posting it. That reduces the chance of sharing the wrong version with an ordinary natural-history caption.
Write a caption that helps somebody look
Begin with one visible detail rather than a claim about the animal's emotions. A sentence about posture, habitat or a behaviour you observed invites the reader to inspect the picture. Add the relevant circumstances, including captivity or a controlled setting when applicable, so the photograph does not imply an encounter that never happened.
Try this structure in your own words: subject, observed action, broad setting and useful photographic context. Only include details that are true for that image. A sample might describe a bird resting on open water and explain that the picture was cropped; it should not claim nesting, hunting or parental behaviour without evidence.
Check the whole post before publishing
Read the caption beside the final export, not beside your memory of the day. Inspect the location tag, embedded coordinates and background clues as well as the words. Sensitive wildlife locations can be described at a regional level; omit detail that could direct unwanted attention to a vulnerable subject.
If an image appears in a trip diary, link it to what readers can learn about the destination rather than promising they will reproduce the encounter on a tour. A strong wildlife story explains an observation and the choices behind it. It does not need an exact map pin or a guaranteed-sighting claim to be interesting.
Before you go
- Keep original files and factual field notes together.
- Label creative changes clearly rather than relying on the image alone.
- Check captions, tags and exported metadata before sharing.
Turn your reading into time in the wild
Explore the relevant tours, then check each departure's itinerary, meeting point and equipment advice. Ask us if you would like help choosing.
Ask your local guide